
Last updated November 17, 2026
 Metal roofing
 Architectural shingles
 Tile roofing
 GAF
 Owens Corning
 Flat & low-slope
Free roof inspection with deck photos before we talk money - GAF and Owens Corning certified installation
Roofing Emergency Preparedness Guide for Boulder City Homes
Your homeowner’s insurance policy almost certainly requires you to make “reasonable temporary repairs” to prevent further damage after a roofing event. If you don’t, the carrier can reduce or deny the claim. Most people find this out at the worst possible time: standing in a wet hallway at 9 p.m., phone in hand, with a tarp still folded in the garage. Boulder City homeowners are famously ready for earthquakes and water shortages, but almost none have a roofing emergency plan on paper. This guide changes that. You’ll learn the exact first-24-hour sequence after a roofing event, how to tarp without voiding a claim, what your policy likely says about mitigation, and the paperwork to save before anything goes wrong.
Quick Answer
After a roofing emergency in Boulder City, your job in the first 24 hours is to protect the structure, document everything before you touch it, and report the damage to your insurer promptly. Cover exposed areas with a properly anchored tarp, photograph the damage from multiple angles with timestamps, leave damaged materials in place for the adjuster where safe, and do not sign anything from a door-knocking contractor until you have a written, line-item estimate. Report the claim the same day, even if the damage looks minor, because waiting to call can cost you coverage.
Styles & brands we work with
- Architectural shingles
- Metal roofing
- Tile roofing
- GAF
- Owens Corning
- Flat & low-slope
Table of Contents
- The First 24 Hours After a Roofing Event
- How to Tarp Safely Without Voiding Your Claim
- What Your Insurance Policy Really Requires
- Building Your Pre-Emergency Roofing File
- Boulder City Weather Events That Cause Roofing Emergencies
- Damage Signatures: How to Read What the Storm Left
- After the Emergency: Getting It Fixed Right
- Common Mistakes to Avoid
- When to Call a Professional
- Frequently Asked Questions
The First 24 Hours After a Roofing Event
In our experience responding to storms around Boulder City, the homes that recover fastest are the ones where someone stayed calm for the first hour and got the order of operations right. Panic leads to hasty tarps, missing photos, and calls to the first number on a yard sign. Here is the sequence that protects both your home and your claim.
- Make sure everyone is safe and the power is off to wet areas. Water and electricity don’t mix. If water is pooling near outlets, a panel, or a ceiling with a fixture, cut power to that zone before anything else.
- Move valuables and furniture away from the leak. Pull electronics, rugs, and furniture off wet carpet. Photograph them where they sat before you move them.
- Document the damage immediately. Shoot wide shots of each room, then close-ups of the water stains, ceiling sag, and any debris. Turn on timestamps. Do this before you tarp or clean, not after.
- Collect loose water with buckets and towels. A ceiling leak can move gallons fast. Put buckets under active drips and swap them out.
- Apply temporary protection only where you can do it safely. More on this below. If the roof is steep, wet, or higher than one story, leave the tarping to a professional.
- Report the claim the same day. Call your insurer and get a claim number. Note the date, time, and the name of who you spoke with.
- Leave damaged materials in place for the adjuster if it doesn’t create a hazard. Don’t tear out ruined drywall or throw away shingles until the adjuster sees them or tells you it’s fine.
Write down every step you take as you take it. A simple timeline of “3:15 p.m. noticed leak, 3:30 p.m. put bucket, 4:00 p.m. called insurer” is exactly what adjusters want to see.
How to Tarp Safely Without Voiding Your Claim
Here’s the part where good intentions sometimes backfire. Emergency tarping done badly can create a new leak path, damage shingles, or leave a liability if the tarp blows loose and hurts someone. The goal is keep water out, hold everything down, and make it obvious you acted in good faith to protect the home.
Adjusted-acceptable tarping basics
- Use a heavy-duty polyethylene or canvas tarp rated for exterior use. The blue thin plastic tarps from a hardware store work short term; a heavier woven tarp with reinforced grommets holds up better through a Boulder City wind event. Never reuse a tarp that already ripped.
- Overlap the edges past the damaged area by at least 2 feet and tarp from the ridge downward so water sheds off the low edge, not into the gap.
- Anchor with sandbags or weighted lumber on a flat surface. If roof pitch makes that impossible, use wood battens screwed through the tarp into the decking only with permission from your contractor or adjuster. Never nail through finished shingles.
- Do not puncture, caulk, or glue anything to the damage. Skip the spray foam and the silicone. Those are documented in photos and can complicate the claim.
- Tell the insurer you tarped. Note what you covered, what you used, and the date. That record often helps toward reimbursement of the tarp cost.
One more: if the roof slopes more than a moderate pitch, is wet, or has any visible sag, don’t go up. A fall from a one-story roof is a serious injury. We recommend calling a professional who has the ladder, harness, and footing to do it safely. A brief safety caveat here earns you back a lot more than a wobbly ladder ever will.
What Your Insurance Policy Really Requires
Two clauses show up in nearly every homeowner’s policy in Boulder City, and both matter after a roofing event: “duty to mitigate” and “timely reporting.” Miss either and the carrier can reduce or deny the part of the claim connected to that failure.
Duty to mitigate means you have to take reasonable steps to prevent further damage after a covered event. Reasonable is the key word. Reasonable is a bucket under the leak and a tarp over the hole. Unreasonable is ignoring a leak for a week or launching a full DIY repair. Insurers reimburse for mitigation steps when you document them and act promptly.
Timely reporting means exactly that. Call your insurer the same day or the next business day. Many policies have language like “as soon as practicable,” and some have a hard window of a few days. Waiting to see if it “gets worse” or hoping a contractor fixes it first is the single fastest way to lose a claim.
- Know your deductible. A $2,000 deductible changes what’s worth filing.
- Photograph before, during, and after any mitigation work.
- Keep every receipt for tarp material, water extraction, temporary lodging, or emergency plumbing.
- Ask your adjuster if they require a licensed roofer’s report before approving the repair – some do, some don’t, and it changes your timeline.
If you don’t know what your policy says, pull it out now and read the two sections above. It takes ten minutes and can save you thousands.
Building Your Pre-Emergency Roofing File
When something goes wrong, you don’t want to be hunting for your policy number in a drawer while water runs down a wall. Build the file now. Keep it in a cloud folder and a paper copy in a waterproof envelope.
- Current roof photos with timestamps. Walk the yard and shoot every elevation of the roof, plus a photo of the attic access and any interior ceilings that would show leaks. Redo it once a year, ideally after the previous monsoon season, so you have a pre-damage baseline.
- Your contractor’s license info and written estimate. Save the license number, business address, and phone number for the roofer you’d call after a storm. Shepherd & Sons publishes both, and any serious local contractor will too. If the roofer’s name doesn’t match the name on the license, that’s a warning sign.
- Your insurance policy number and adjuster contact. Write it on the envelope, not just in a phone app that may not load.
- Proof of installation. If your roof was replaced, save the manufacturer paperwork and warranty. Shingle brand and product name matter at claim time, so note whether you have GAF, CertainTeed, Owens Corning, or another line.
- A short, one-page emergency sheet. Address, roof age, roof type, number of squares, any skylights or solar, and the name and number of the roofer you trust.
A good roofing contractor will help you assemble this file without a sales pitch. We do. It’s some of the most useful work we do for Boulder City homeowners before the storm ever arrives.
Boulder City Weather Events That Cause Roofing Emergencies
Boulder City doesn’t get the same storm mix as coastal or northern climates, and knowing which weather patterns actually damage roofs here is half the battle. These three cause most of the emergency calls we handle.
Monsoon microbursts (July-September)
A microburst is a sudden downward blast of wind that can top 60 mph in a small area and then vanish. In Boulder City, a microburst can lift ridge cap shingles, peel back the upwind corner of a roof, and drive rain sideways into fascia gaps. After one, look for missing or curled shingles on the windward face and water stains along the ridge line. If you see granules in the gutter or yard, shingles are past their service life and more vulnerable next time.
Haboob debris impacts
Haboobs – the dust walls that roll across the desert in late summer – carry grit and small debris at speed. They don’t usually tear off shingles, but they can blast aggregate off asphalt roofs and drive debris into valleys, gutters, and around penetrations. Damage here is often moisture-trapping clutter more than a hole, so clearing debris within a day or two matters.
Winter freeze-thaw on flat sections and tile
A rare hard freeze on a flat section or a low-slope patio roof can cause water to pond, freeze, and work its way under flashing. Tile can crack when trapped moisture expands. Boulder City doesn’t get many freezes, but when we do, north-facing slopes and flat sections take the hit. Always confirm the roof was built for the freeze anyway and check the flashing around chimneys, skylights, and vents, which is where ice-created opening shows up first.
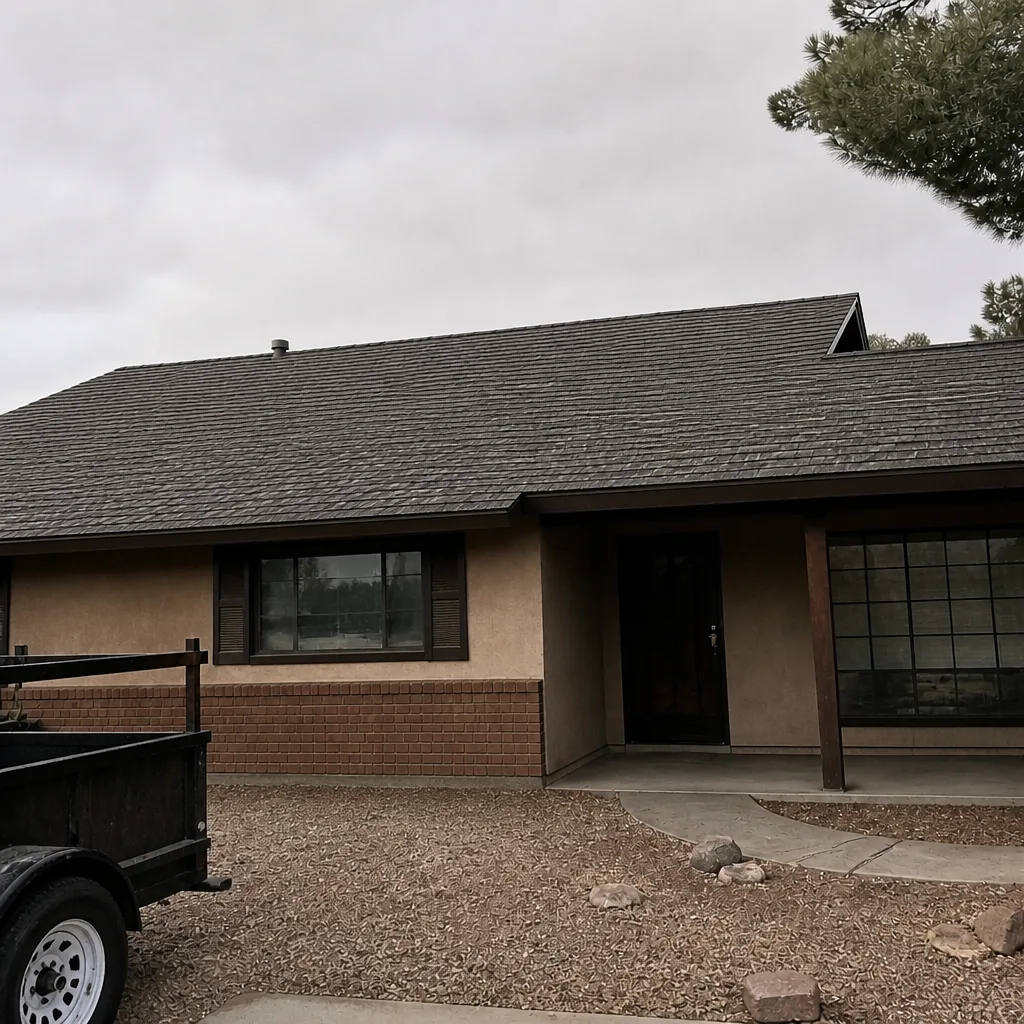
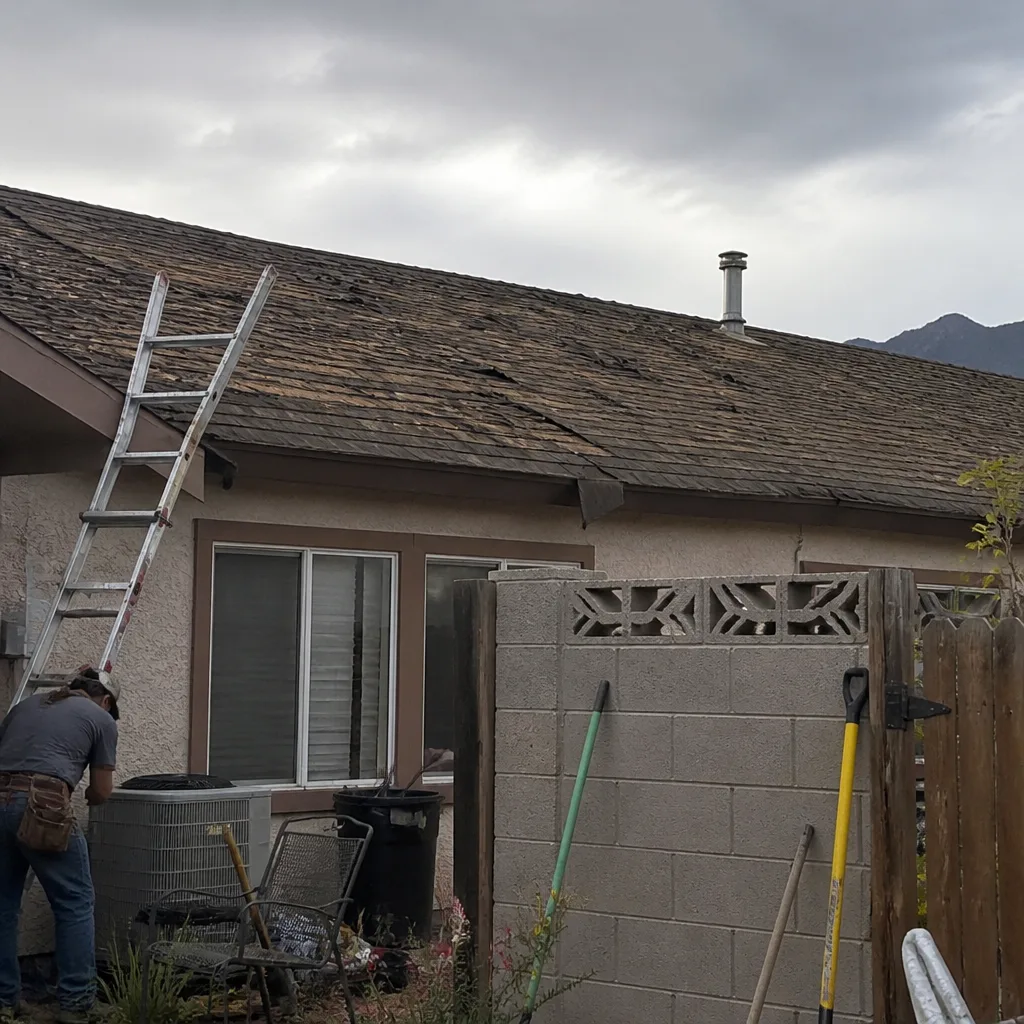
See the difference
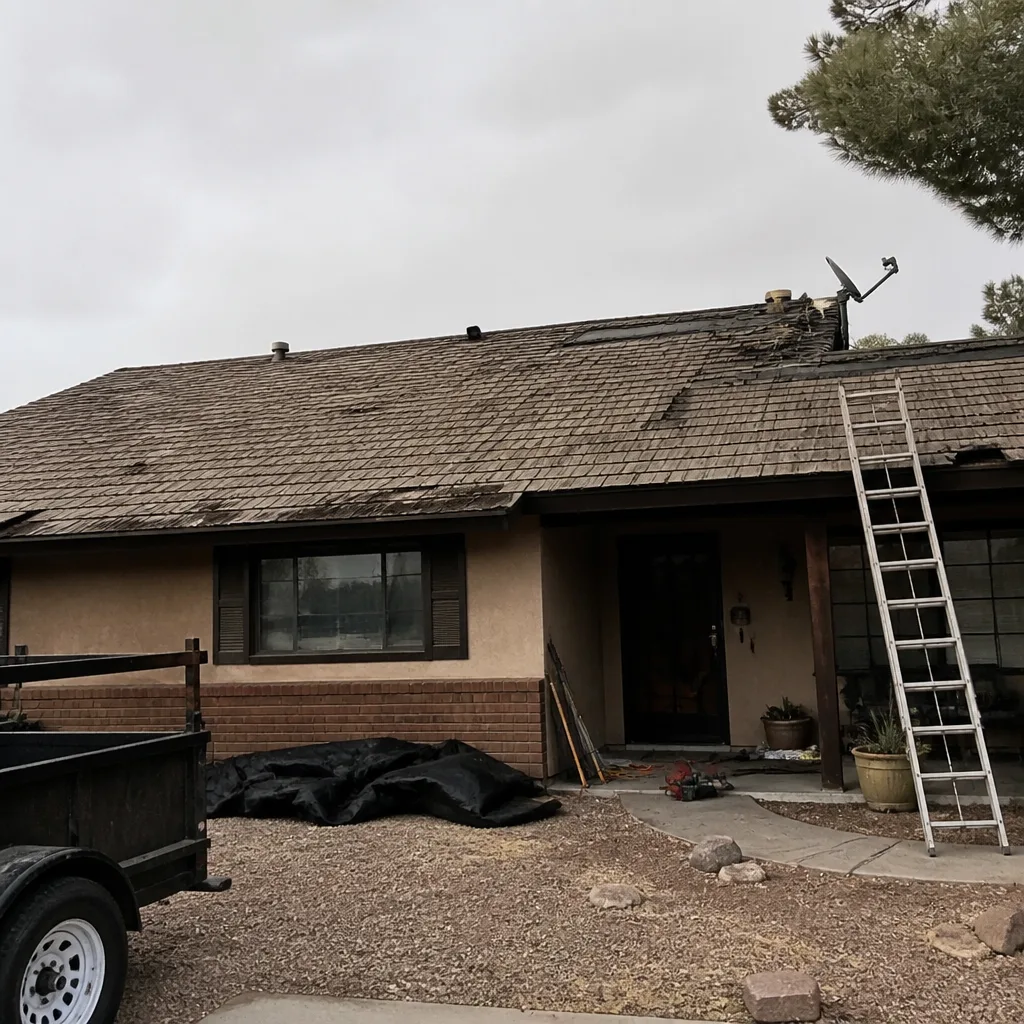 Before
 After
 Before
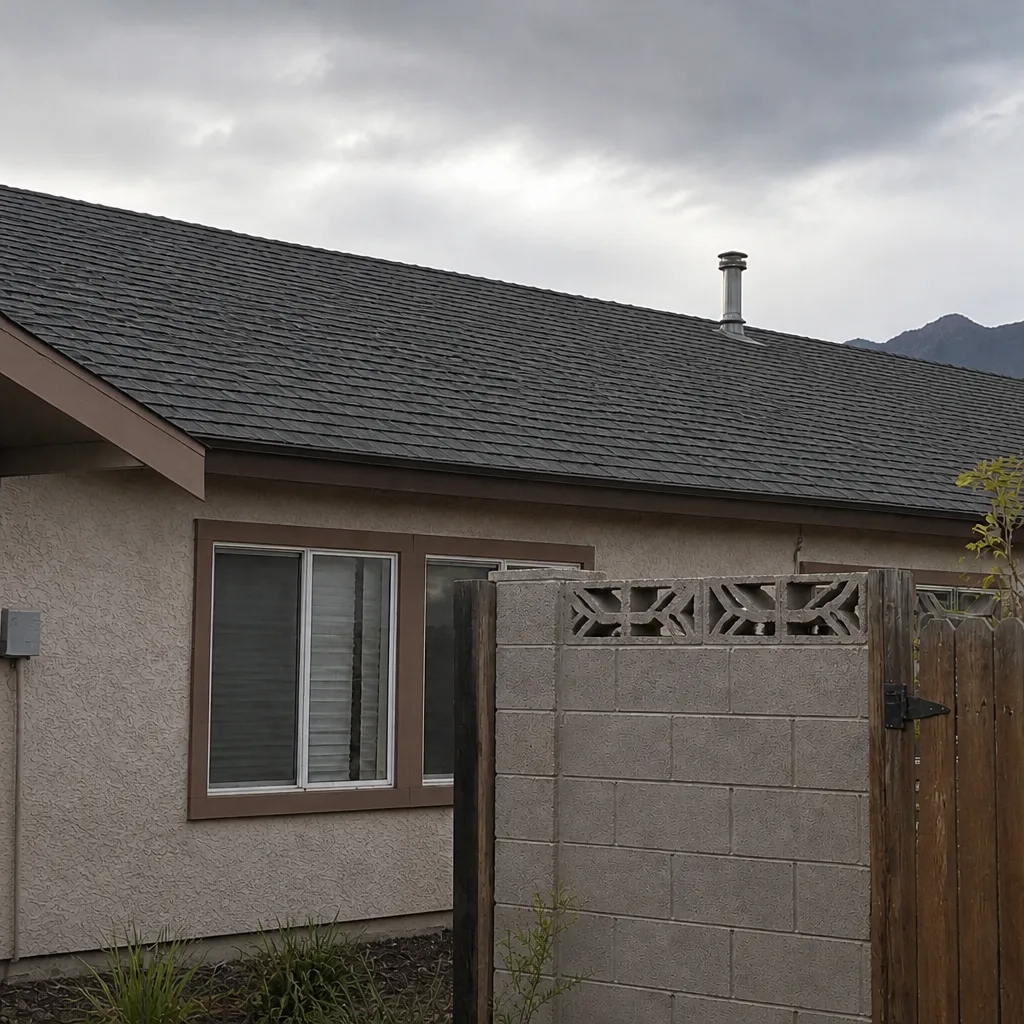 After
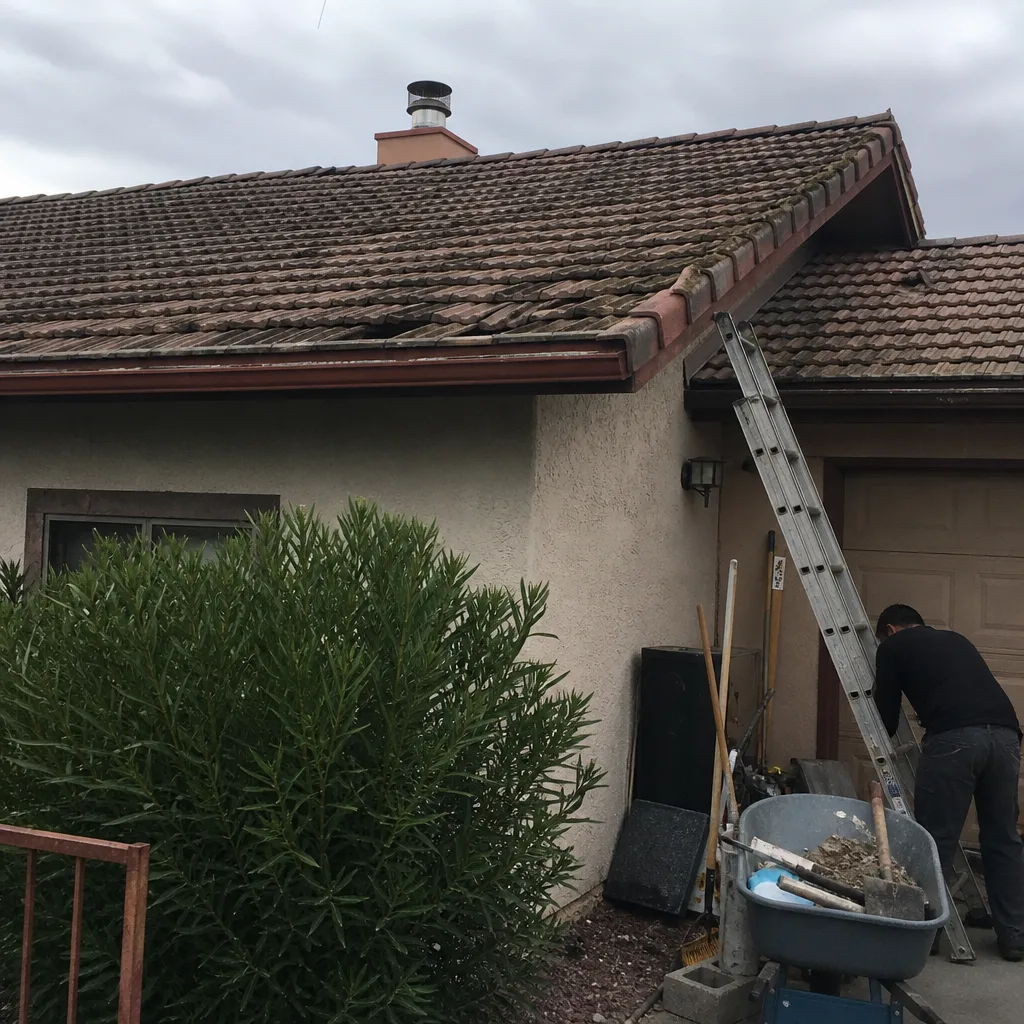 Before
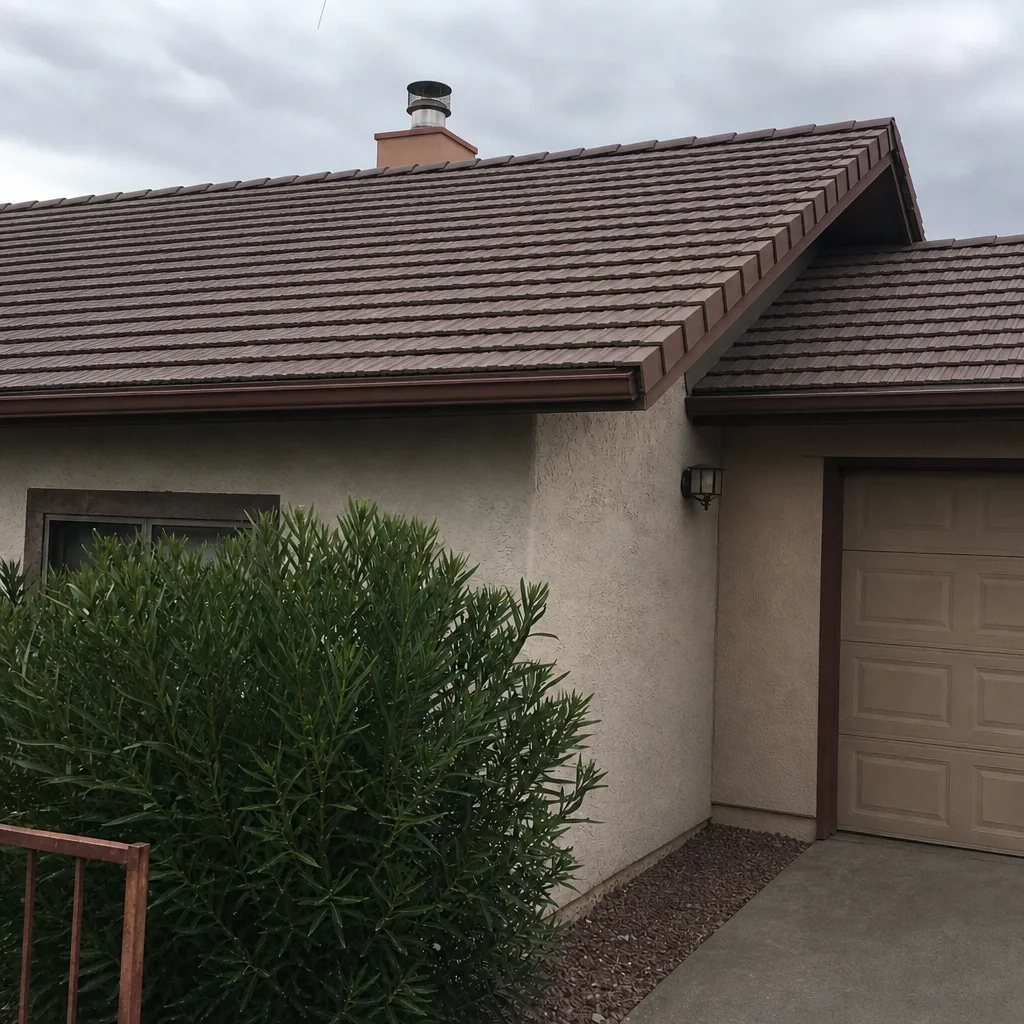 After
Damage Signatures: How to Read What the Storm Left
Each weather event leaves a fingerprint on the roof, and knowing what to look for speeds your claim and your repair. Here’s how to read the signs from the ground.
- Wind damage: missing ridge caps, curled or lifted tabs on the upwind slope, exposed nail heads after shingles lift. Photograph the ridge and the windward face from a ladder below the roof if you can do so safely.
- Hail damage: soft dents in metal, cracked or fractured tabs on asphalt, and bruised spots that look like round, matte circles. Circle these with a piece of chalk if you can reach them safely.
- Water intrusion: brown ceiling rings, bubbling paint, warped drywall, or a musty smell in the attic after a storm. Take photos of each interior sign and note which room is under which roof section.
- Debris impact: crushed valley metal, fractured tiles, torn flashing around a chimney or vent stack. These are the ones that most often turn into interior leaks a week later.
- Freeze damage: cracked tiles, opened flashing, or a ceiling stain that appears at the thaw and grows. Note the thaw date, since that’s the responsible event.
Save the original photos with metadata intact. Adjusters rely on the time and location stamps more than most homeowners realize.
After the Emergency: Getting It Fixed Right
Once the water is under control and the claim is filed, the real decision arrives: who fixes it. Storm chasers follow hailstorms and monsoon seasons, and they’ll be at your door within hours with a clipboard and a promise. Slow down. Ask for a published address, a license number you can look up, and a written line-item estimate that breaks out the squares, the underlayment, the flashing, and the labor.
This is where a local relationship pays off. A roofer who has been around for years, at the same address, with the same name on the truck, will still be around when the shingles they installed need a follow-up. Ask the bidder how many squares they counted, what nailing pattern they’ll use, and what happens if a leak shows up after the job. A written workmanship promise is worth more than a slick phone quote. So is a free second opinion on any estimate you’ve been handed before you sign.
For the full scope of what repair or replacement looks like here, our roof repair in Boulder City page walks through typical fixes for storm damage, and if it’s time to replace the roof you can see how we handle it at roof replacement and installation in Boulder City. For homeowners weighing a long-term fix after a repeat-damage pattern, metal roofing in Boulder City holds up well to desert wind and debris. And you can always start at the Shepherd & Sons Roofing Boulder City home page to learn how we work.
Common Mistakes to Avoid
- Not documenting before you tarp. The most common mistake – photos taken after a tarp is up are much harder for the adjuster to read. Shoot first, then cover.
- Calling the contractor before the insurer. Get the claim number first. Contractors can start emergency mitigation, but the insurer’s timeline is the one that governs your coverage.
- Signing a door-knocker’s contract the same day. Storm chasers push for a signature on the spot. A written estimate with line items and a real local address is the only thing worth signing.
- Doing the full repair as a DIY project. A homeowner patching a leak can inadvertently void the shingle warranty and confuse the claim. Reasonable temporary mitigation is fine; the repair belongs to a pro.
- Skipping the mitigation step entirely. “I’ll just wait for the adjuster” is how interior damage gets much worse. Bucket, tarp, document, report – in that order.
- Assuming the deductible isn’t worth it. A small leak can hide thousands in attic damage. Always report, even if you end up not filing.
- Forgetting to keep receipts. Tarp material, water extraction, temporary lodging, and emergency plumbing are commonly reimbursable if documented.
When to Call a Professional
Call a professional roofer in Boulder City immediately if any of the following is true: water is actively running into the living space, you can see daylight through the roof deck, a section of roof has sagged or pulled away from the wall, shingles or tiles are missing from a large area, or the roof is steep enough that you wouldn’t walk on it in dry weather. Get a professional out if you’re not sure whether what you’re looking at is structural damage or surface damage. Shepherd & Sons Roofing Boulder City offers free estimates in Boulder City – call (844) 761-8186. We show up with the ladder, the camera, and the tarps, and we’ll walk you through the insurance steps before we talk about anything else.
Frequently Asked Questions
Make sure everyone is safe, then photograph the damage before you cover anything. After that, move valuables away from the water, apply only the temporary protection you can do safely, and call your insurer the same day to report the claim. The order matters: photos first, insurer before contractor.
Yes, if the tarp is heavy-duty, anchored properly, and documented. Reasonable temporary mitigation is expected by your policy. What hurts a claim is a tarpless gap, a tarp nailed through shingles, or a homeowner taking a fall from a roof they shouldn’t have been on. If the pitch is steep or the roof is wet, let a professional do it.
Report as soon as practicable, ideally the same day or the next business day. Nevada policies vary, but “timely reporting” language is common, and waiting to file can give the insurer grounds to reduce or deny coverage. When in doubt, call and open the claim even if the damage looks minor.
It means you have to take reasonable steps to prevent further damage after a covered event – buckets, tarps, water extraction. You don’t have to do the repair yourself. You do have to show you acted promptly to protect the home, and you should keep receipts for any materials or emergency services you paid for.
Tarp materials typically run $30 to $80 for a heavy-duty exterior tarp, and emergency mitigation labor is often in the low hundreds depending on size and pitch. Many insurers reimburse emergency mitigation costs when you document them, so keep the receipt and note the date and what you covered.
No. Ask for a published local address, a license number you can look up, and a written line-item estimate. A roofer who has been around for years and will be around next year is a safer bet than one with out-of-state plates. A free second opinion on any estimate costs you nothing and often saves thousands.
The Bottom Line
A roofing emergency in Boulder City is survivable if you plan before it happens. Build the file now, know your insurance clauses, keep a heavy tarp on hand, and have a local roofer you trust on speed dial. When the storm hits, your job is to document, mitigate, and report – in that order, and quickly. The repair belongs to a professional. The prep belongs to you.
If you need a free estimate, a second opinion on a written bid, or a roofer to inspect the damage before you call the insurer, call Shepherd & Sons Roofing Boulder City at (844) 761-8186. A live person answers the phone. We’re ready to help you get your Boulder City home back to dry and sound.
Written by the team at Shepherd & Sons Roofing Boulder City.