
Last updated November 17, 2026
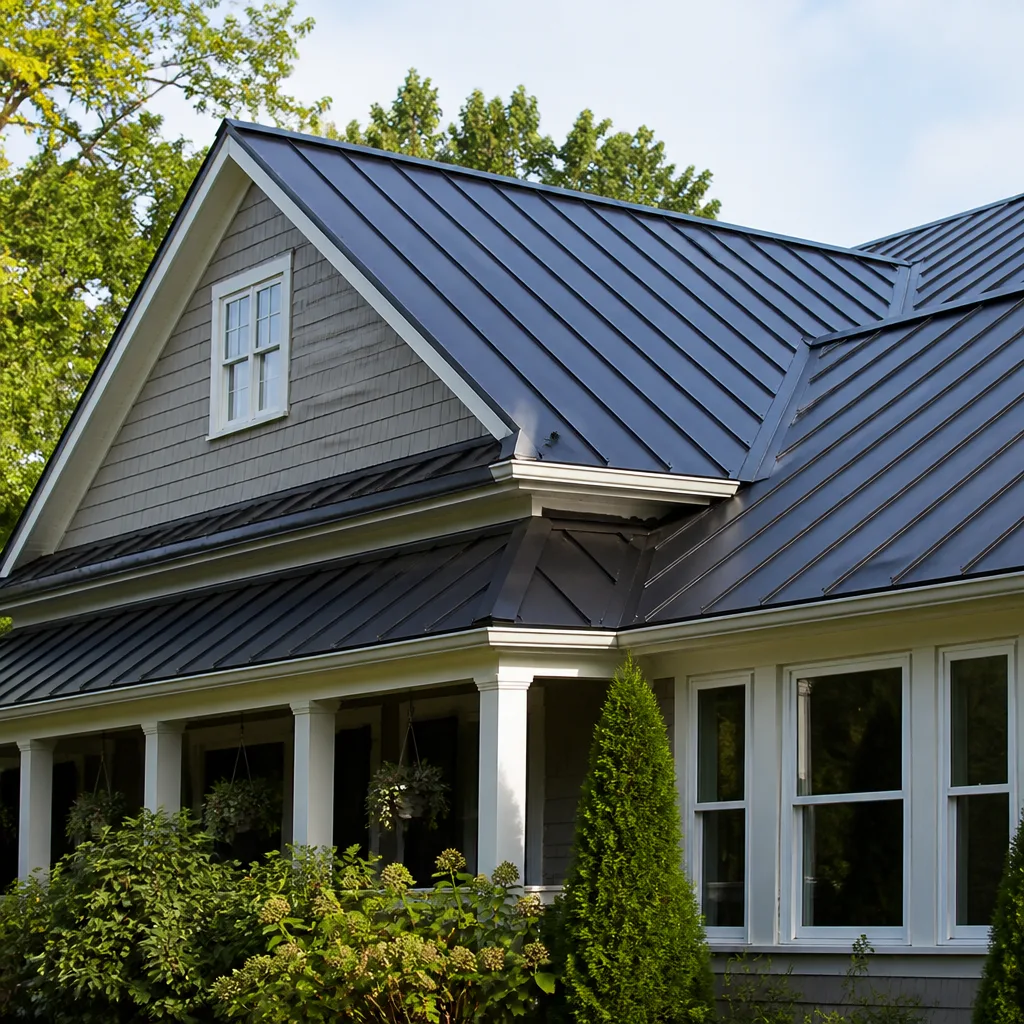 Metal roofing
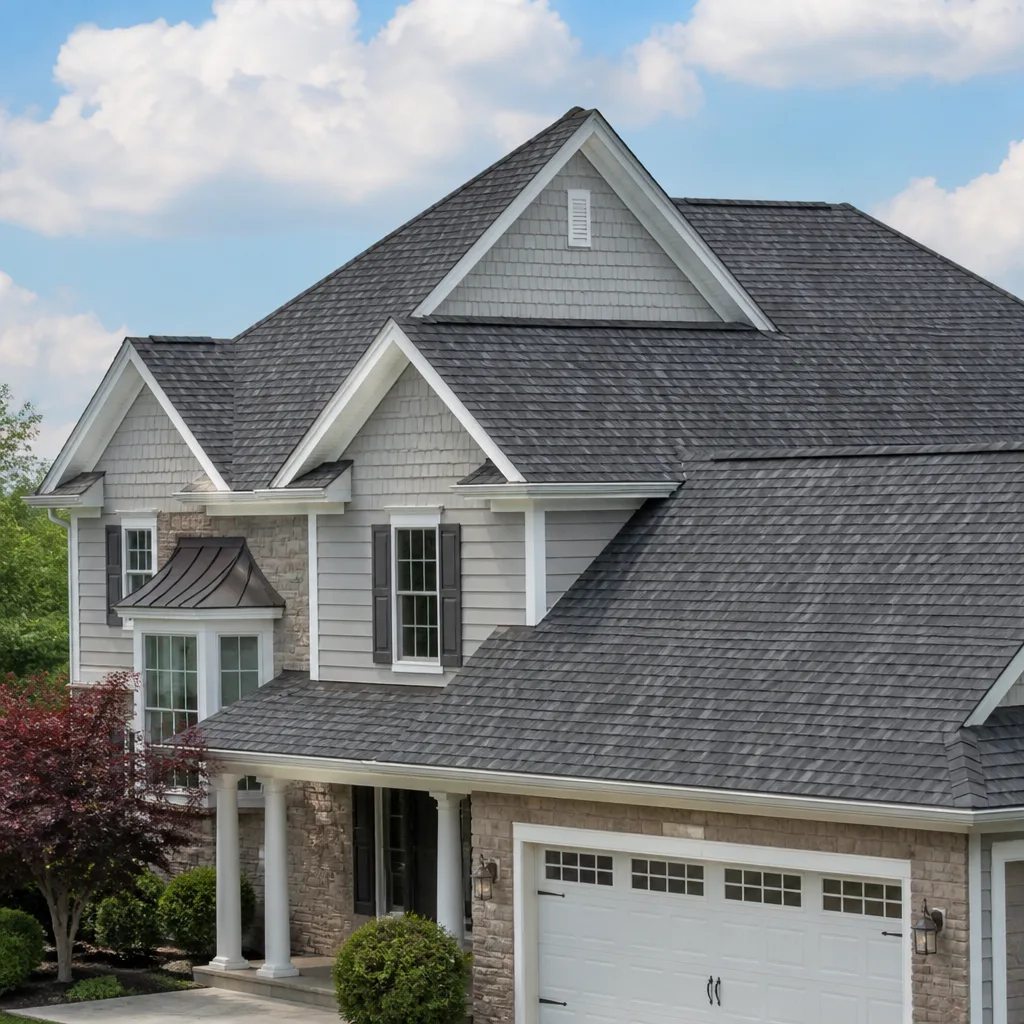 Architectural shingles
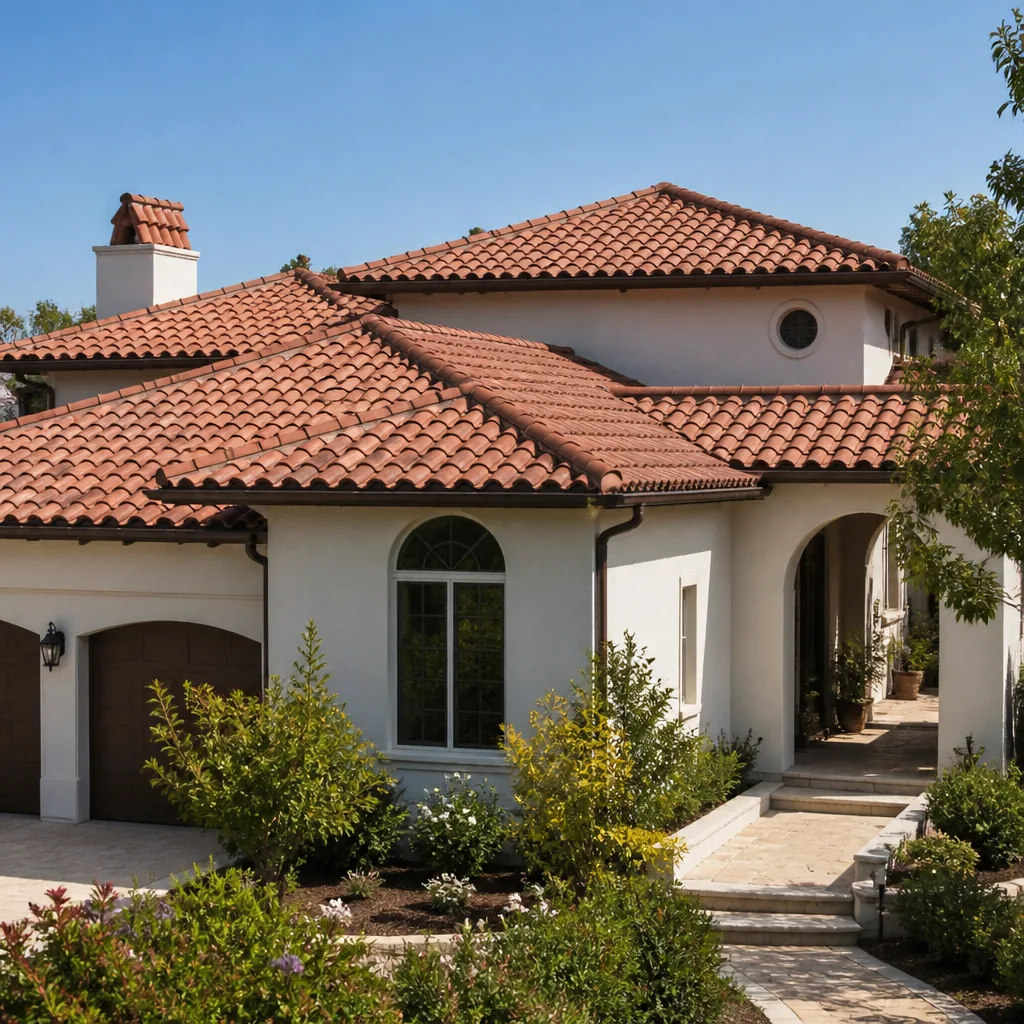 Tile roofing
 GAF
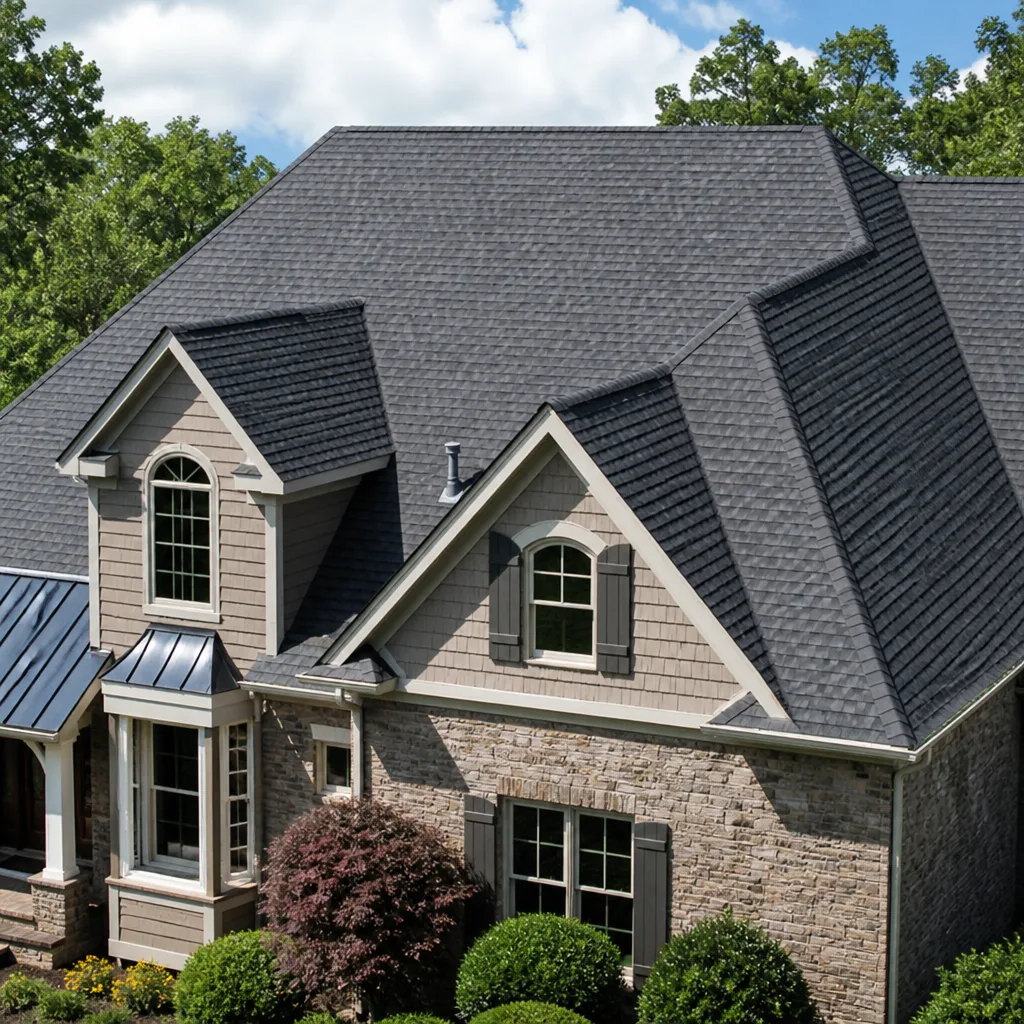 Owens Corning
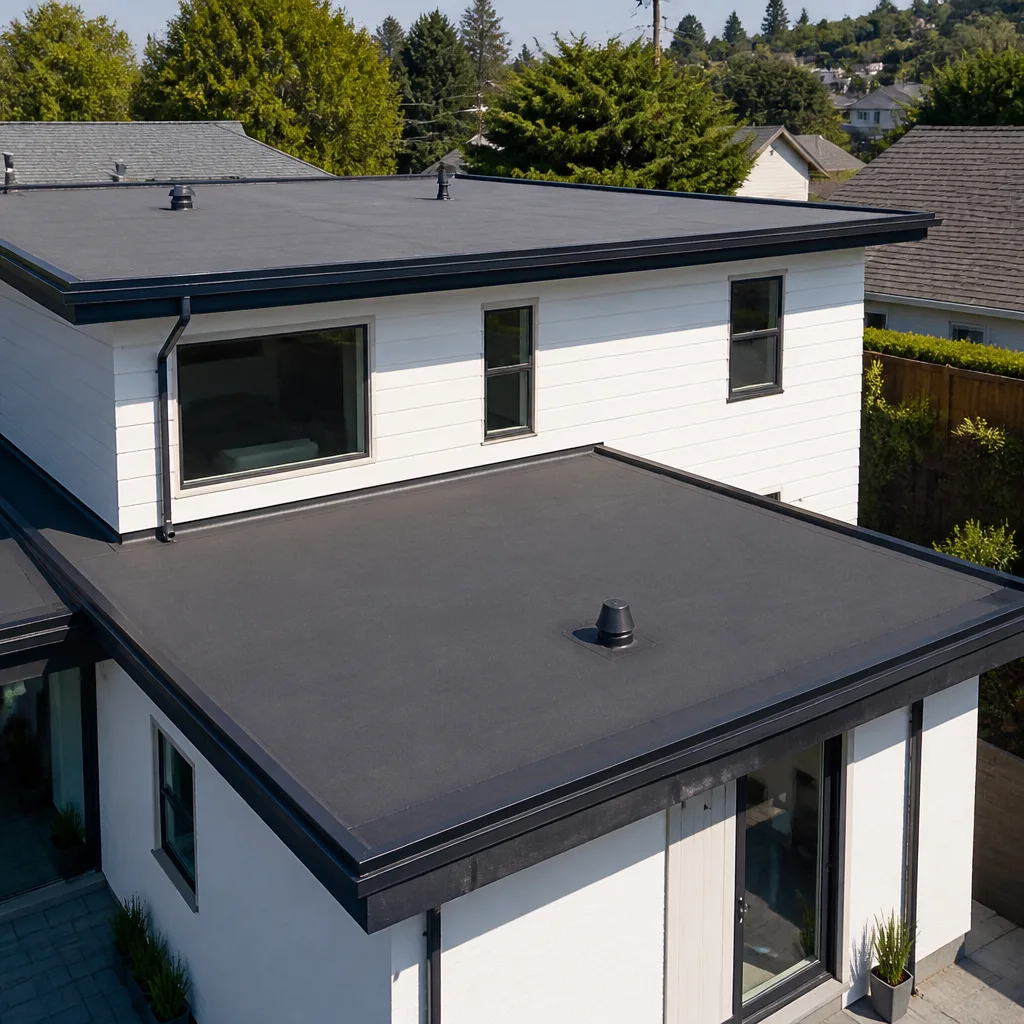 Flat & low-slope
Free roof inspection with deck photos before we talk money - GAF and Owens Corning certified installation
Metal Roofing Troubleshooting: Common Problems and How to Fix Them
Here’s the call Bill gets most often about metal roofs, and it almost never matches the caller’s guess. The homeowner is sure a panel has failed. Nine times out of ten, the actual source is a boot flashing around a plumbing pipe that got caulked with the wrong product in desert heat, and that caulk let go about two summers ago. Metal panels themselves are tough – most of the trouble we see in Boulder City happens at the seams, the fasteners, and the trim, not in the metal. This guide walks through the problems that actually show up, how to tell one from another, and which ones a $40 tube of the right sealant and a roofer who answers his phone can fix.
Quick Answer
Most metal roofing problems are fastener, flashing, or installation failures rather than failures of the metal itself. Oil-canning is usually cosmetic unless it was locked in by a bad install; fastener back-out and galvanic corrosion are progressive and worth catching early; and wind damage almost always starts at the ridge cap and eave trim, not the field of the panel. A proper diagnosis happens before anyone quotes a repair – check the metal, the underlayment, and the wall flashing in that order.
Styles & brands we work with
- Architectural shingles
- Metal roofing
- Tile roofing
- GAF
- Owens Corning
- Flat & low-slope
Table of Contents
- Oil-Canning: What That Wavy Look Really Means
- Fastener Back-Out and Lost Seals
- Galvanic Corrosion and Metal-on-Metal Contact
- Boulder City Wind Uplift at the Ridge and Eave
- Is It the Metal, the Underlayment, or the Flashing?
- Flashing and Boot Failures Around Pipe Penetrations
- Repair vs. Replace: How to Decide
Oil-Canning: What That Wavy Look Really Means
Oil-canning is the rippling or wavy distortion you can see running down a metal panel, and homeowners notice it from the street long before anything starts leaking. In our experience, it’s the single most misunderstood metal roofing issue out there. Here’s the honest version: oil-canning is almost always cosmetic. Metal expands and contracts with heat, and a panel that spans a slightly uneven deck will show a ripple. It looks worse in low afternoon light, which is why people tend to panic at 5 p.m.
Two things make oil-canning permanent, and both are installation choices:
- Over-tightening fasteners. A screw cranked down too hard pins the panel flat against the deck and removes its room to move. Once that’s done, the wave is locked in for good.
- Fastening in the wrong spot. Screws set outside the panel’s designed fastening line fight the metal’s natural expansion instead of working with it.
The good news: permanent oil-canning that isn’t causing a leak isn’t a reason to replace a roof. If the ripples showed up soon after an install and the panels are otherwise sound, that’s a conversation with whoever set them. Here in Boulder City, panels take a real beating from the sun, and the expansion and contraction cycle runs harder than it does in cooler climates. Ask a roofer to look at the fasteners before anyone starts talking about a whole new roof – that’s a much smaller bill.
Fastener Back-Out and Lost Seals
On an exposed-fastener system, every screw is a small hole in your roof, held watertight by a neoprene washer. High UV turns that washer brittle over time, and the metal panel beneath it flexes with temperature change. Eventually the screw backs out a little, the seal fails, and water finds the gap. This is a maintenance issue, not a defect, and it’s why exposed-fastener metal needs a look-over every few years in a climate like ours.
You can check for back-out yourself, safely and from the ground where possible – use binoculars to scan the panel lines for screws that stand proud of the panel. If you do walk a low-slope section, stay off the panel seams and never get up there after rain. What you’re looking for: missing screws, dark rust trails beneath a fastener, and any washer that looks cracked or flattened.
When does a re-screw fix it, and when does it not?
- Re-screw works when the holes are still round and tight, the panel is sound, and only the washer has aged out. New screws in the same holes with fresh sealing washers solve it.
- Re-screw does not work when the holes are wallowed out, meaning the screw walks out again the moment it’s set. That hole needs a bigger fastener or an oversized gasketed fastener, and that decision belongs to someone who’s done it a hundred times.
- Re-screw also does not work if the corrosion has started at the fastener line. Once the panel edge is eaten thin, a new screw has no steel to bite.
If you’re seeing a scattering of backed-out screws across a whole slope, that’s a sign the original install used too few fasteners or skipped the pattern. The nailing pattern earns the wind rating, not the shingle wrapper – same principle applies to metal. If that’s the case, our Metal Roofing in Boulder City page covers what a properly fastened system should look like.
Galvanic Corrosion and Metal-on-Metal Contact
Galvanic corrosion happens when two dissimilar metals touch and moisture bridges them. One metal starts eating the other, quietly, from underneath – often where you can’t see it. On a metal roof, the common contact points are:
- Aluminum panels on steel purlins or decking without an isolating barrier. The aluminum becomes the sacrificial metal and thins at the contact line.
- Copper or lead flashing sitting directly against aluminum. A common boot or valley material paired with the wrong panel metal.
- Dissimilar fasteners. A steel screw into an aluminum panel, or the reverse, will start the reaction at the fastener head.
- Galvanized trim touching an aluminum panel. Easy to miss during a repair, and a slow problem afterward.
What you’ll see: chalky white residue along a seam, dark pitting under a fastener, or paint blistering where two metals meet. The fix is isolation – the right barrier tape or a compatible fastener – not a new roof. It’s also worth knowing that in Boulder City, the dry climate slows corrosion compared to coastal air, but the intense sun cooks sealants and coatings that would otherwise protect the joint. When a repair is done with the wrong metal, you can restart the clock on corrosion. This is why asking what fastener and what trim material a repairer plans to use matters as much as the price.
Boulder City Wind Uplift at the Ridge and Eave
After a 50 mph gust rolls through, we see the same failures nearly every time, and they’re rarely in the middle of the roof. Wind gets under the edge of a roof and lifts – the failure starts where the roof ends, not where it’s widest.
The failures we see most often on Boulder City metal roofs:
- Ridge cap separation. The cap lifts where it was fastened with too few screws or with the wrong overlap direction, and once the first section goes, the rest unzips.
- Eave trim pulling. The trim at the bottom edge lifts first because that’s where the wind grabs, and it’s often the least visibly fastened part of the system.
- Corner lifting. Roof corners take the highest pressure, and a loose corner trim section will peel back like a page.
- Panel edges flapping. When the panel edge is unfastened at the overlap, it hums in moderate wind and tears in strong wind.
What failed and why comes down to fastening pattern and edge detail, every time. A metal roof rated for high wind gets that rating from how it’s screwed down at the perimeter, not from the panel gauge alone. If a storm just came through and something on the ridge or eave is lifting, that’s a repair you want done before the next gust. Visible damage deserves a fast look – our Roof Repair in Boulder City page covers the storm-damage side of this.
Is It the Metal, the Underlayment, or the Flashing?
This is the diagnostic sequence we run before quoting any metal repair, and it’s the reason a good roofer can often save a homeowner the cost of a new roof. Every leak gets checked in the same order:
- Start at the penetration. Pipe boots, vents, and chimneys are the most common leak sources on any roof, metal included. Check the seal, the boot, and the flashing before anything else.
- Check the wall flashing. Where the roof meets a wall, step flashing and counterflashing are the usual suspects. This is a detail installers rush, and it’s where water sneaks in during wind-driven rain.
- Scan the fasteners. Look for missing, backed-out, or rusted screws above the leak. Water travels down-slope and along the panel, so trace uphill from the drip.
- Inspect the panel seams. Standing seam laps and exposed-fastener side laps can open with movement. Look for gaps and for dirt trails that mark where water has been running.
- Look at the underlayment last. If the metal checks out and the flashing checks out, the underlayment is the next layer. A failing underlayment shows as water in the attic or dripping between panels on the underside. On an older metal roof, a torn or cooked underlayment is a real possibility in a high-UV climate.
The order matters. A roofer who jumps straight to “your metal’s shot” without checking the boot flashing and the wall detail hasn’t diagnosed anything – he’s quoted a replacement. Ask him to show you the deck photos before you talk money.
Flashing and Boot Failures Around Pipe Penetrations
Pipe boot flashing is the little collar that seals where a plumbing vent pipe comes through the roof, and it’s the number one leak we see on metal roofs – by a wide margin. The reason is simple: that boot is usually made of rubber or a soft synthetic, and in Boulder City’s summer heat it dries out, cracks, and shrinks around the pipe. Then someone caulks it with standard caulk because that’s what was on the truck. Standard caulk and desert caulk are not the same thing. Standard caulk in 110-degree heat goes brittle and lets go within a season or two. The right product is a high-temperature-rated sealant, sometimes a metal-rated flashing boot, applied to a clean dry surface.
What a proper boot repair looks like:
- The old sealant and failed boot get removed completely – not painted over.
- The pipe and the surrounding metal are cleaned and dried.
- A new boot sized to the pipe is installed, or the old one is replaced with a heat-rated alternative.
- The seal is set with the correct high-temperature sealant, worked in, and checked.
A boot flashing done wrong – or done with the wrong product – can cost a homeowner a water-stained ceiling, a ruined patch of drywall, and a repair call they didn’t plan for. Done right, it’s a modest repair, and it’s the kind of thing we handle often. If this is what’s going on, our Shepherd & Sons Roofing Boulder City home page has the overview of everything we do.
Repair vs. Replace: How to Decide
Here’s the practical math. A repair makes sense when the metal is sound, the failure is localized, and the underlying fastening and flashing are in good shape. A replacement starts to make sense when failures are spreading across the whole system, when corrosion has thinned the panel edges, or when the underlayment beneath the metal has aged out entirely.
Signs a repair is the right call:
- One isolated leak with an identifiable source.
- Aged washers or a handful of backed-out fasteners on otherwise sound panels.
- One failed boot flashing or a section of ridge cap that lifted in wind.
- Cosmetic oil-canning with no water entry.
Signs a replacement deserves a real conversation:
- Corrosion spreading along panel edges and at multiple fastener lines.
- Multiple leaks from different places on the same slope.
- A roof old enough that the underlayment is the real problem and the metal just happens to be on top.
If you’re at that crossroads, our Roof Replacement & Installation in Boulder City page covers what a new metal system involves, including the brands we install – Boral and Tamko among them – and what to expect from the process.
Common Mistakes to Avoid
- Caulking a pipe boot with standard caulk in summer. It’ll fail within a couple of seasons. The desert heat eats anything not rated for it.
- Over-tightening a new fastener. Cranking down on a screw flattens the washer and pins the panel. Snug is the goal, not tight.
- Mixing fastener metals with panel metals. A steel screw in an aluminum panel starts galvanic corrosion you won’t see for years – then it’s expensive.
- Walking the roof in the wrong shoes or after rain. Metal is slippery when wet and hot enough to burn in a Boulder City July. Leave the inspection to someone with the right equipment.
- Trusting a bid without seeing the deck. If a roofer quotes metal work from the driveway without getting up there and checking the flashing and fastener lines, the number is a guess.
- Painting over a failing boot or seal. It looks fixed right up until the ceiling stains. New boot or new sealant, applied correctly, is the real repair.
- Assuming every wave is a leak. Oil-canning is usually cosmetic. A roofer who says otherwise hasn’t looked closely enough.
See the difference
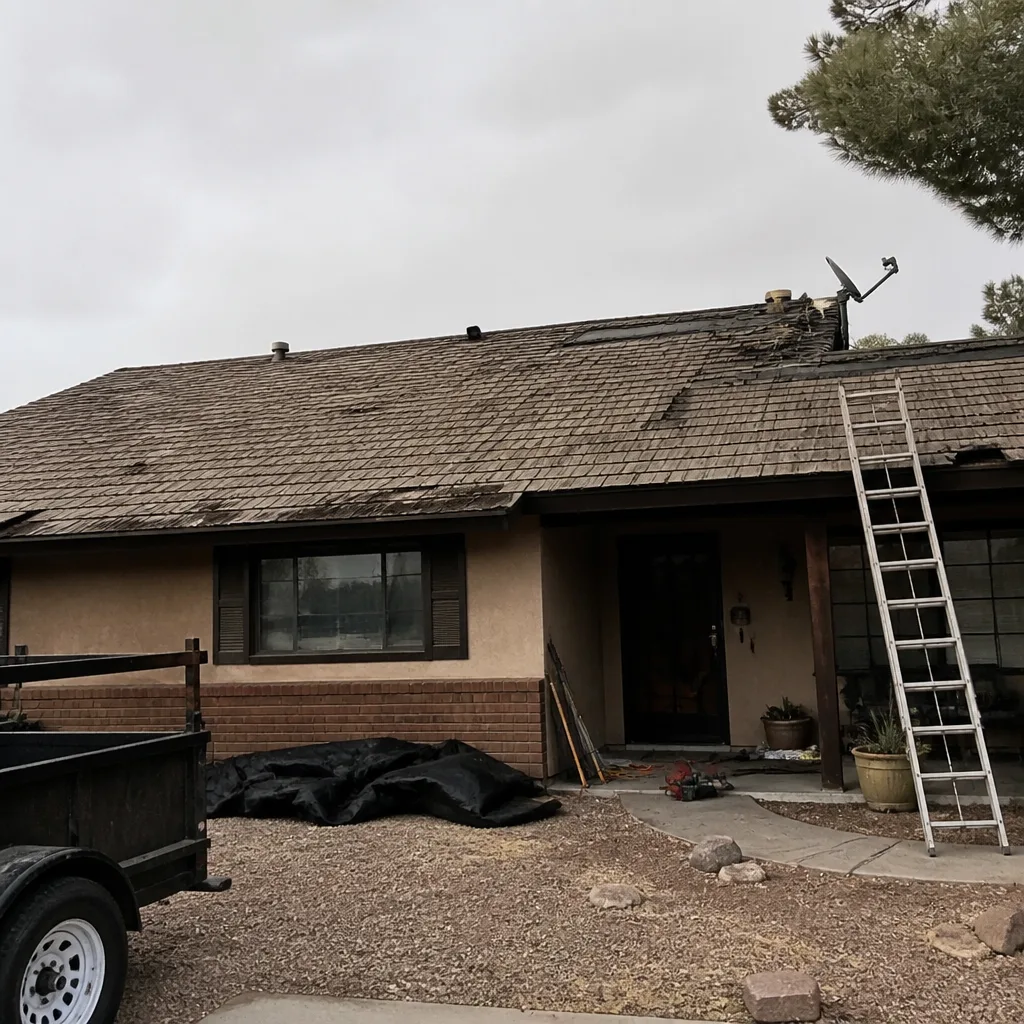 Before
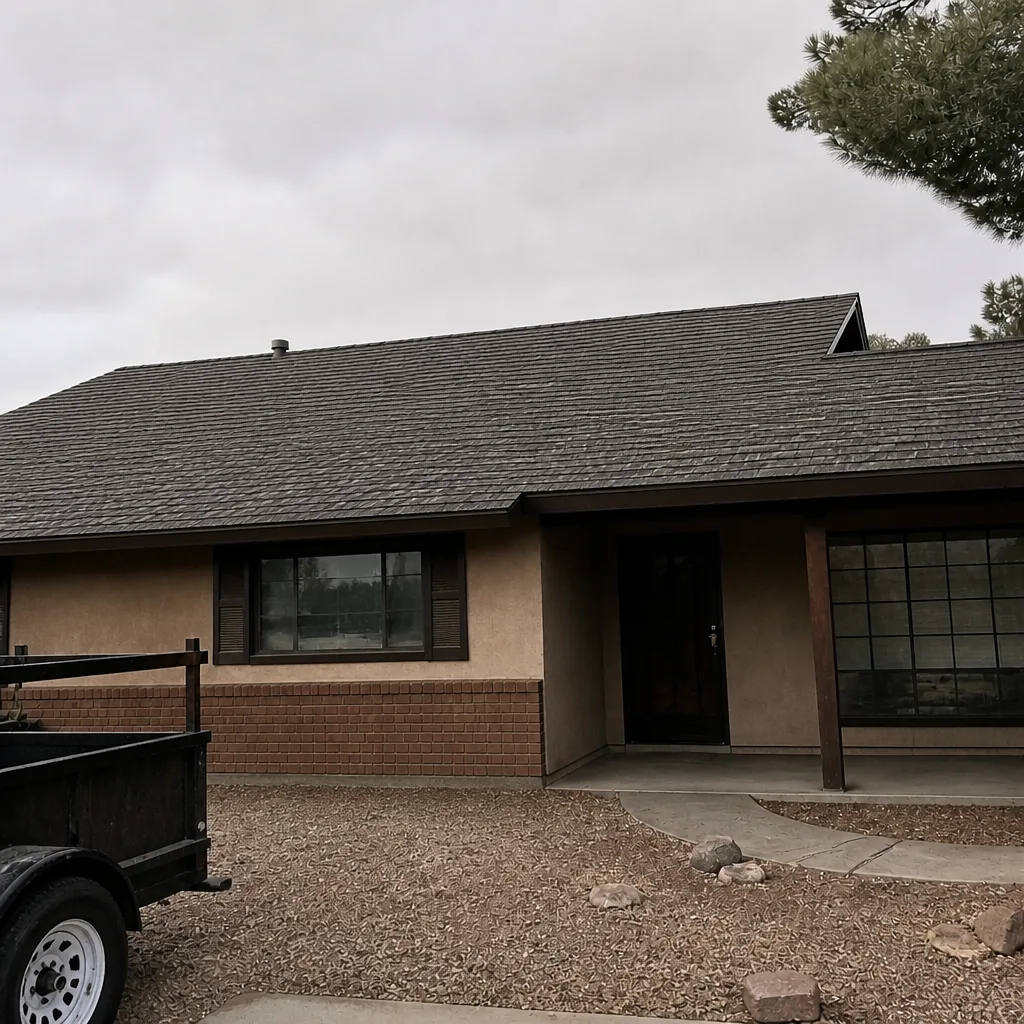 After
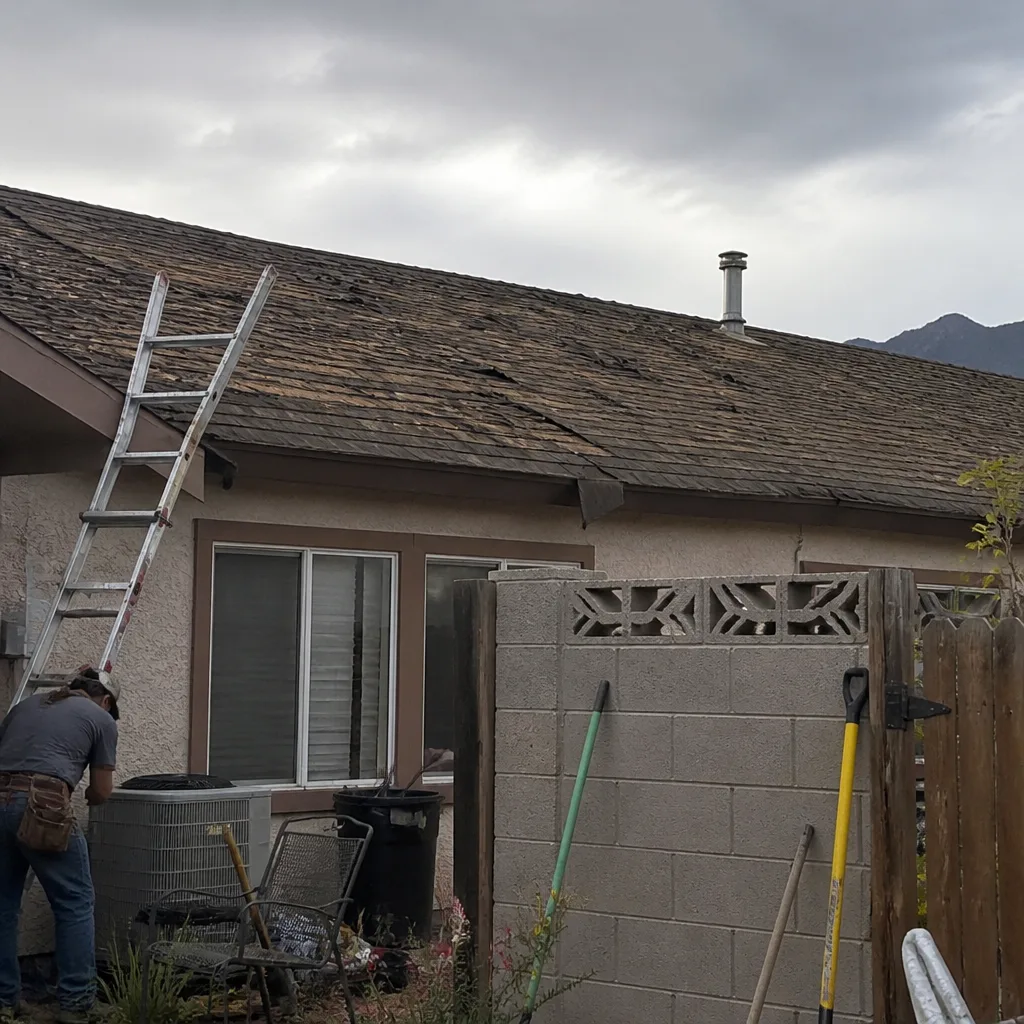 Before
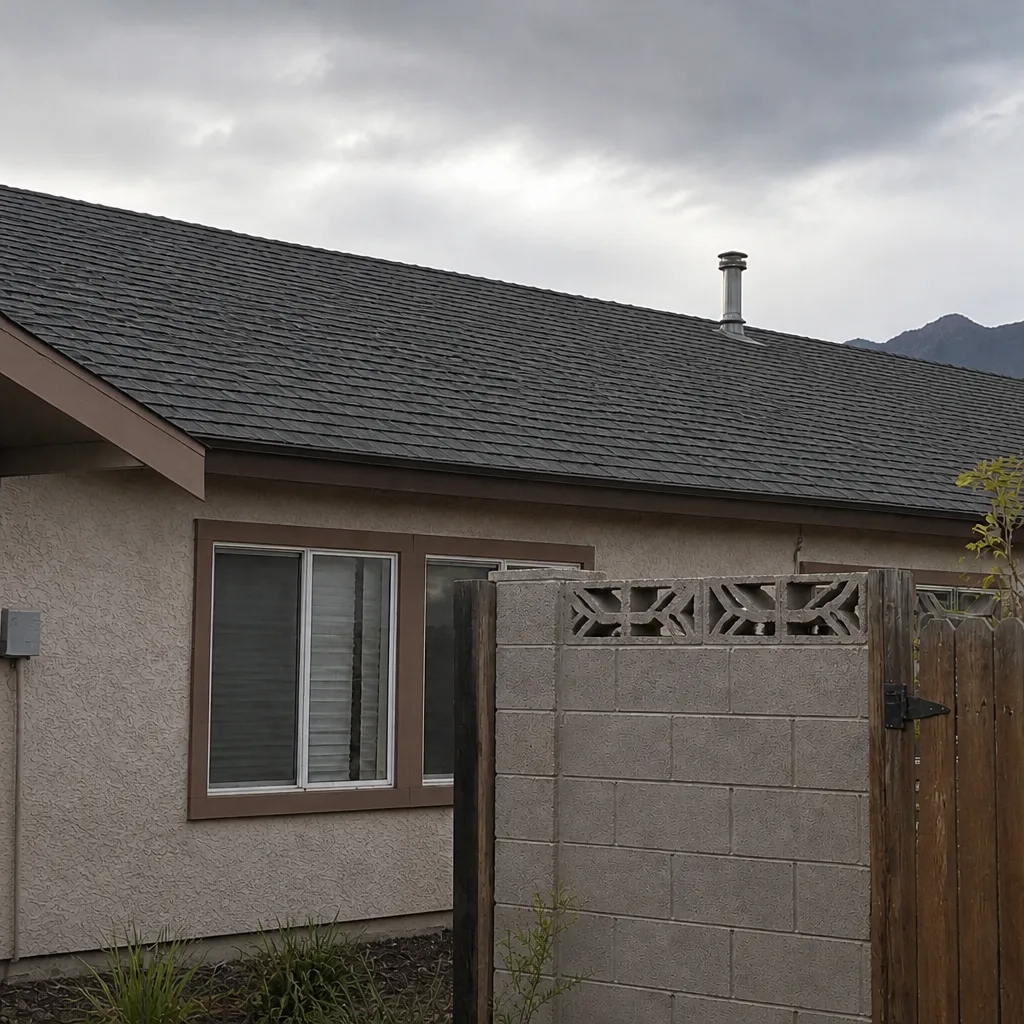 After
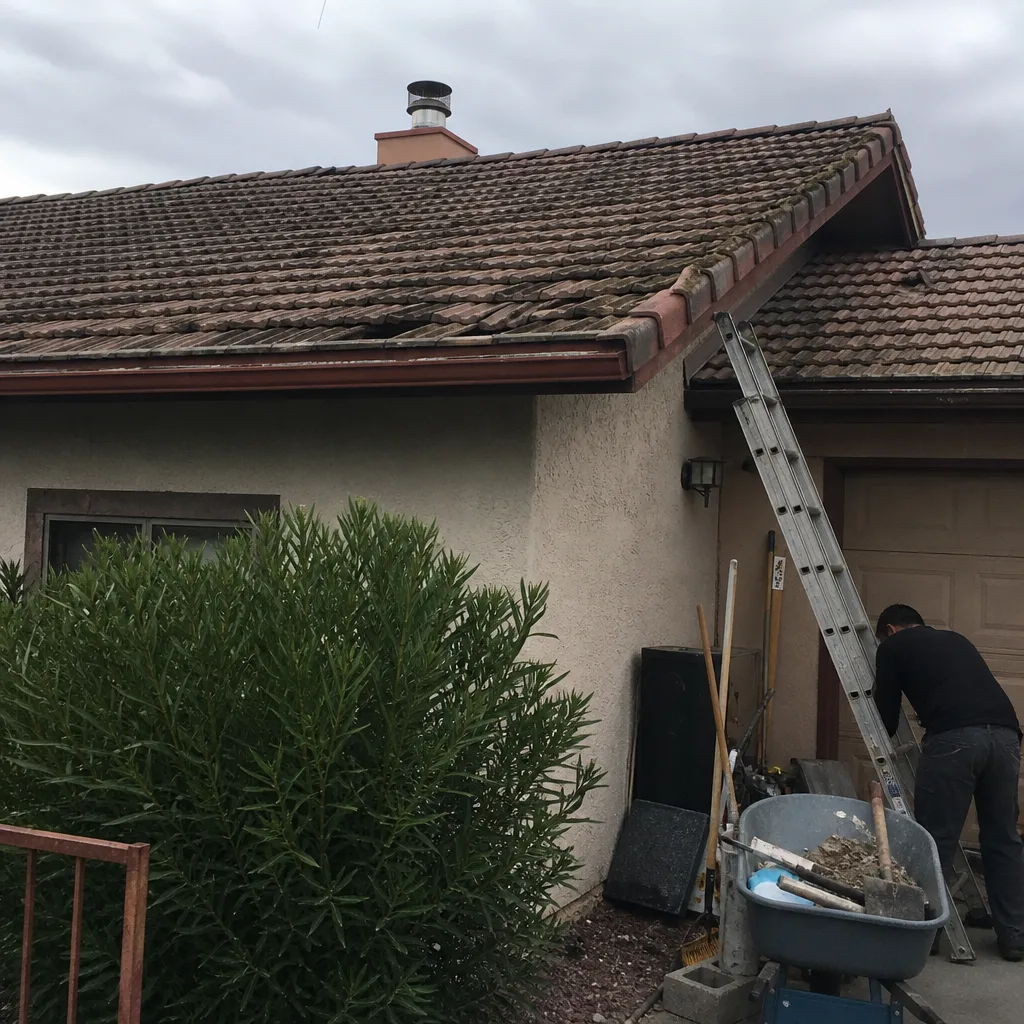 Before
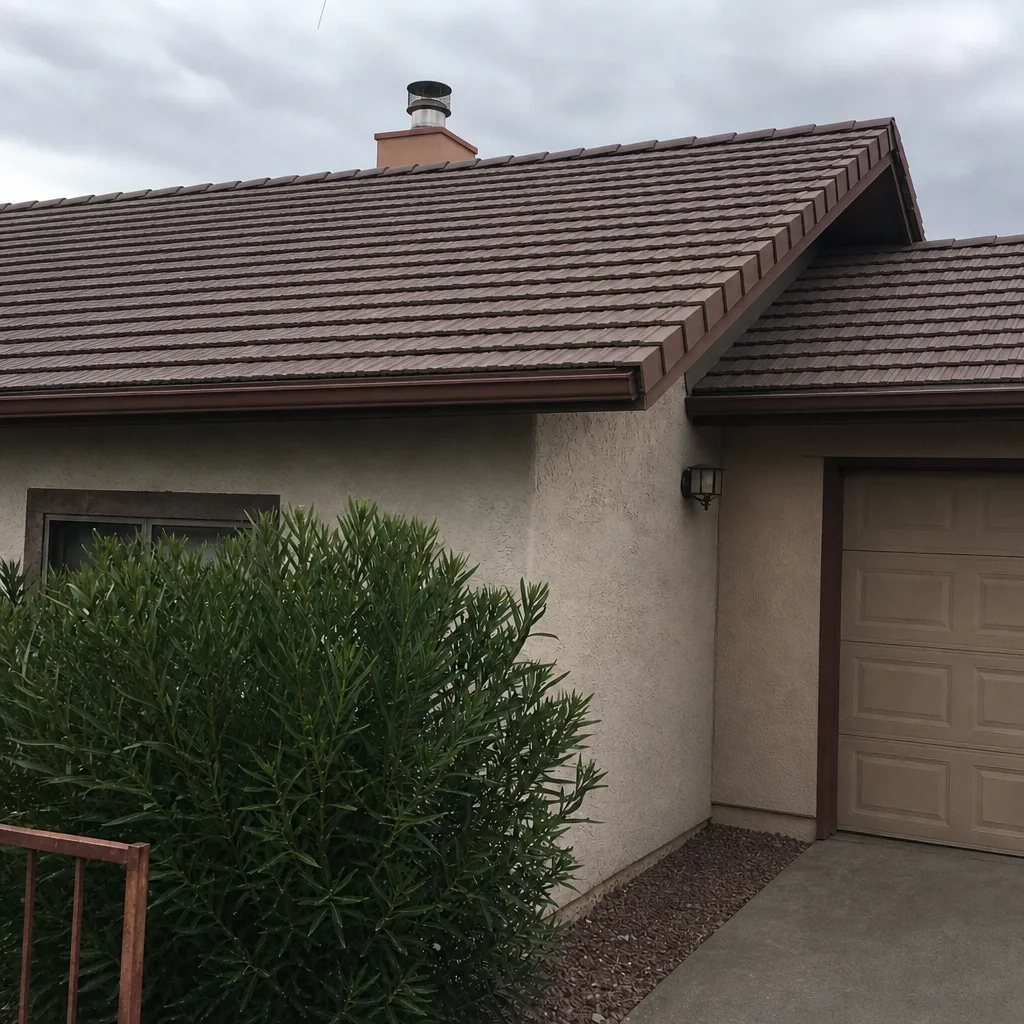 After
When to Call a Professional
Some metal roofing issues are checkable from the ground. Others absolutely are not. Call a professional when:
- You’ve got water inside the attic or a ceiling stain and can’t find the entry point from the ground.
- Ridge cap or eave trim has lifted after a windstorm – the fastening pattern needs to be corrected, not just reattached.
- You suspect galvanic corrosion at a seam, a fastener, or a trim contact point.
- A repair on your metal roof has failed more than once in the same spot.
- You’re weighing repair against replacement and want a straight answer from someone who’s seen both.
Our technicians have up to 30 years of experience, and we’ve worked on Boulder City metal roofs long enough to know which failures are common here and which aren’t. Shepherd & Sons Roofing Boulder City offers free estimates in Boulder City – call (844) 761-8186. We’ll show you the deck photos before we talk money, and there’s no trip charge inside our own county. Every roofing job we do is backed by our written 90-Day Done Right Promise.
Frequently Asked Questions
Oil-canning is almost always cosmetic. The waviness comes from the metal expanding and contracting over a slightly uneven deck, and it shows up more in low afternoon light. If it happened right after installation and the fasteners were over-tightened, it can be permanent – but a wavy panel that isn’t leaking usually doesn’t need replacing. Call (844) 761-8186 for a look before you assume the worst.
Pipe boot flashing fails more than anything else. The rubber or synthetic boot dries out and cracks in desert heat, and when someone caulks it with standard caulk instead of a high-temperature sealant, it lets go within a season or two. The fix is a proper boot and the right product, not a new roof.
Every few years is a reasonable rule of thumb on an exposed-fastener system in a high-UV climate. The washer is the part that ages. If you’re seeing rust trails or screws standing proud of the panel, it’s time for a look – and a batch of new gasketed fasteners is far cheaper than water damage. Call (844) 761-8186 for a no-trip-charge inspection inside our county.
Wind grabs the edge of the roof and the ridge cap is where the pressure is highest, so that’s where the first fastener fails. If the cap was set with too few screws or the wrong overlap, the section above the first failure unzips quickly. Reattaching it with the correct fastening pattern is the fix – and doing it before the next gust matters.
A sound metal roof with one localized failure – a boot, a ridge cap section, backed-out fasteners – is almost always worth repairing. Replacement starts to make sense when corrosion is spreading, when leaks come from multiple places, or when the underlayment underneath has aged out. Anyone who quotes a replacement without checking the flashing first hasn’t diagnosed anything.
Costs vary with what’s actually failed, so a written line-item quote is what you want – not a number from the driveway. A boot flashing repair is far less than a panel replacement, and a handful of fasteners is less still. Call (844) 761-8186 for a free estimate and a free second opinion on any written bid you’ve already got. We also offer $40 off any repair over $200 and a senior and veteran 10% discount.
The Bottom Line
Most metal roofing problems aren’t metal problems. The good metal panels we install – and the ones already on roofs across this town – are built to last. What fails is the boot flashing that got caulked wrong, the fastener washer that aged out, the ridge cap that was set with too few screws, or the aluminum panel touching steel where nobody isolated it. Learn to tell those apart, and you’ll avoid replacing a roof over a $40 tube of sealant. Check the penetration first, then the flashing, then the fasteners, then the underlayment. If it doesn’t add up from the ground, a professional can find it fast – before the next wind or rain makes the bill bigger. Same address since 1996. Ask the storm chasers where theirs is.
Ready to get a straight answer and a free estimate? Call (844) 761-8186. A live person answers 24/7 – our name is on the work, and we’ll show you the deck photos before we talk money.
Written by the team at Shepherd & Sons Roofing Boulder City.